An audio-reactive effect is a visual that moves with the music: the frame flashes on the kick, the shot punches in on the snare, the color shifts on every clap. Done well, it makes an edit feel like it’s being played rather than cut.
The usual advice is to do it in After Effects, because Premiere Pro has no way to turn sound into keyframes. Asked on Adobe’s forum whether Premiere can convert audio to keyframes the way After Effects does, the accepted answer is a flat “No.” This guide covers what you can do inside Premiere anyway: keyframing by hand, and letting SoundXtract place the keyframes for you on the exact hits of one instrument.
Effects or a visualizer?
Search for this and half the results are about audio visualizers: bars or a waveform that bounce with the sound. That’s a graphic drawn from the audio. This guide is about the other thing, where your footage itself reacts: a flash, a zoom, a shake, a color change, landing on a specific sound.
If a spectrum visualizer is what you’re after, After Effects (or a visualizer plugin) is the right tool, and SoundXtract won’t draw one.
Keyframing it by hand
Every reactive effect in Premiere comes down to keyframes that spike on a hit and fall back. A flash, for example:
- Mark the hits first. Tap M on each kick with the music clip selected, or add beat markers automatically.
- Add the Levels effect to the video clip (or an adjustment layer above it).
- On each marker, keyframe White Input Level down so the frame blows out, then back up a few frames later.
- Right-click the keyframes to ease them, so the flash pops and fades instead of switching on and off.
This works for one or two moments, like the drop. For a whole song it’s hundreds of keyframes, the timing is only as good as your markers, and changing how the flash feels means editing every one of them.
Adding an audio-reactive effect automatically
SoundXtract finds the hits in the song and writes the keyframes onto native Premiere effects, the same ones you’d have added by hand.
- Select the music clip in the timeline and click Start.
- Select the video clip that should react. It has to overlap the music clip in the sequence.
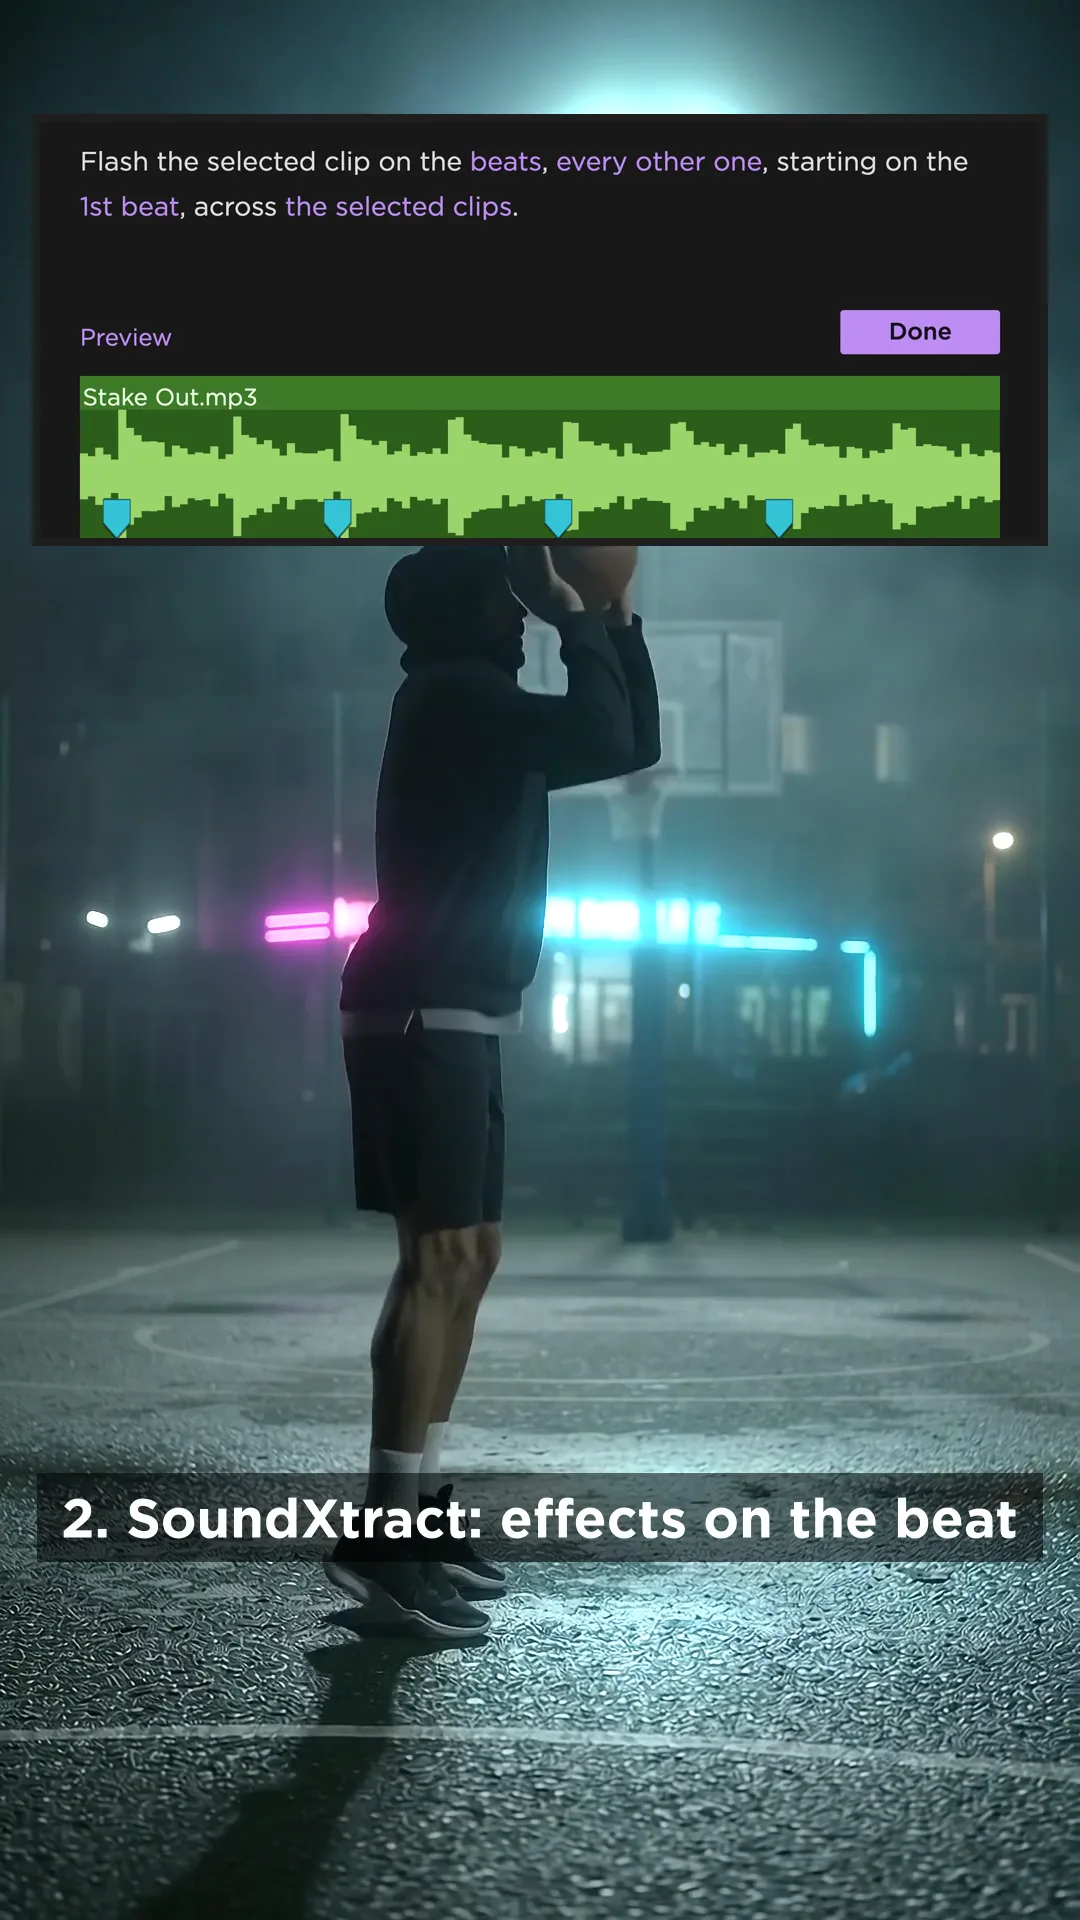
- Pick Effects in the track overview (or open the Effects tab) and click an effect. The keyframes appear on the clip right away, and the settings open as one sentence: “Flash the selected clip on the beats, all of them, across the selected clips.”
- Play it back, and click any colored word to change it. Each change rewrites the keyframes.
- Click Done to keep it, or Undo to take the effect off the clip.
A line under the sentence counts the clips as the keyframes go on. If you click Done before it finishes, the window closes and the work carries on above the effect cards, with a Stop button that keeps the clips it has already reached.
There are four effects to start from:
- Flash brightens the frame for an instant on each hit, through Premiere’s Levels effect.
- Bounce punches the shot in on each hit and lets it settle back with a spring, through Motion’s Scale.
- Camera Shake jolts rotation and scale together, through the Transform effect with motion blur on.
- Color Cycle steps through a list of colors, one per hit, as a color overlay on the clip.
Make it react to one instrument
An effect that fires on every beat gets tiring fast. The words in the sentence choose what the effect listens to:
- “the beats” switches to one instrument: kick and tom hits, snare and cymbal hits, bass notes or melody notes. The effect then follows the actual hits of that instrument, not the tempo grid.
- “all of them” thins out the beats: every other beat, every fourth, and so on. Pick every other beat and “starting on the 1st beat” moves it onto 2 and 4. Pick beats… builds your own pattern.
- “across the selected clips” limits the effect to the full song, your in/out points or exact times, so it can stay quiet in the verse and come in with the chorus.
Before you click Done, click Preview. It plays a click on every hit the effect will use, along with the music. If the clicks sound wrong, the effect will look wrong.
A good default pairing: flash on the kick and tom hits, color change on the snare and cymbal hits. The two mostly alternate, so the edit trades accents instead of piling them up.
Shape each hit
Fine-tune… changes how a single hit feels, not when it happens.
- Flash has two curves, Start and End: how fast the flash rises and how it fades.
- Bounce and Camera Shake use an envelope. Intensity is how far each hit pushes, Decay is how quickly it settles, and Frequency is how much it wobbles on the way back. Camera Shake can also hit just once: click “on every hit” in its sentence and pick once, at the playhead, which is how you hit a drop and nothing else.
- Color Cycle takes a list of colors, in order, and a Transition curve for how each change blends in.
Because the output is plain keyframes on standard effects, you can open Effect Controls afterwards and change anything SoundXtract doesn’t expose: swap the easing, delete a hit, or copy the keyframes to another clip.
After Effects, by hand, or SoundXtract?
After Effects is the standard answer for good reasons. Convert Audio to Keyframes turns loudness into a keyframe track, and with an expression it can drive any property of any layer. It’s included in Creative Cloud, and for visualizers and motion graphics it’s more flexible than anything inside Premiere.
What it gives you is loudness of the whole mix, not hits of one instrument. A loud bass line and a loud snare look the same to it, so you end up tuning thresholds with expressions, and every tweak is a round trip out of Premiere and back.
| By hand in Premiere | After Effects | SoundXtract | |
|---|---|---|---|
| Stays in Premiere | Yes | No, a Dynamic Link round trip | Yes |
| Reacts to | Whatever you tap | Loudness of the mix | Beats, or one instrument |
| Changing the feel | Edit every keyframe | Edit the expression | Adjust a curve, rewritten |
| Visualizers, graphics | No | Yes | No |
| Cost | Free | Included in Creative Cloud | First 3 music clips free |
For a single accent on the drop, keyframe it by hand. For waveform graphics or effects that follow loudness, use After Effects. For footage that hits on the kick or the snare across a whole song, SoundXtract saves the most time.
Where to go next
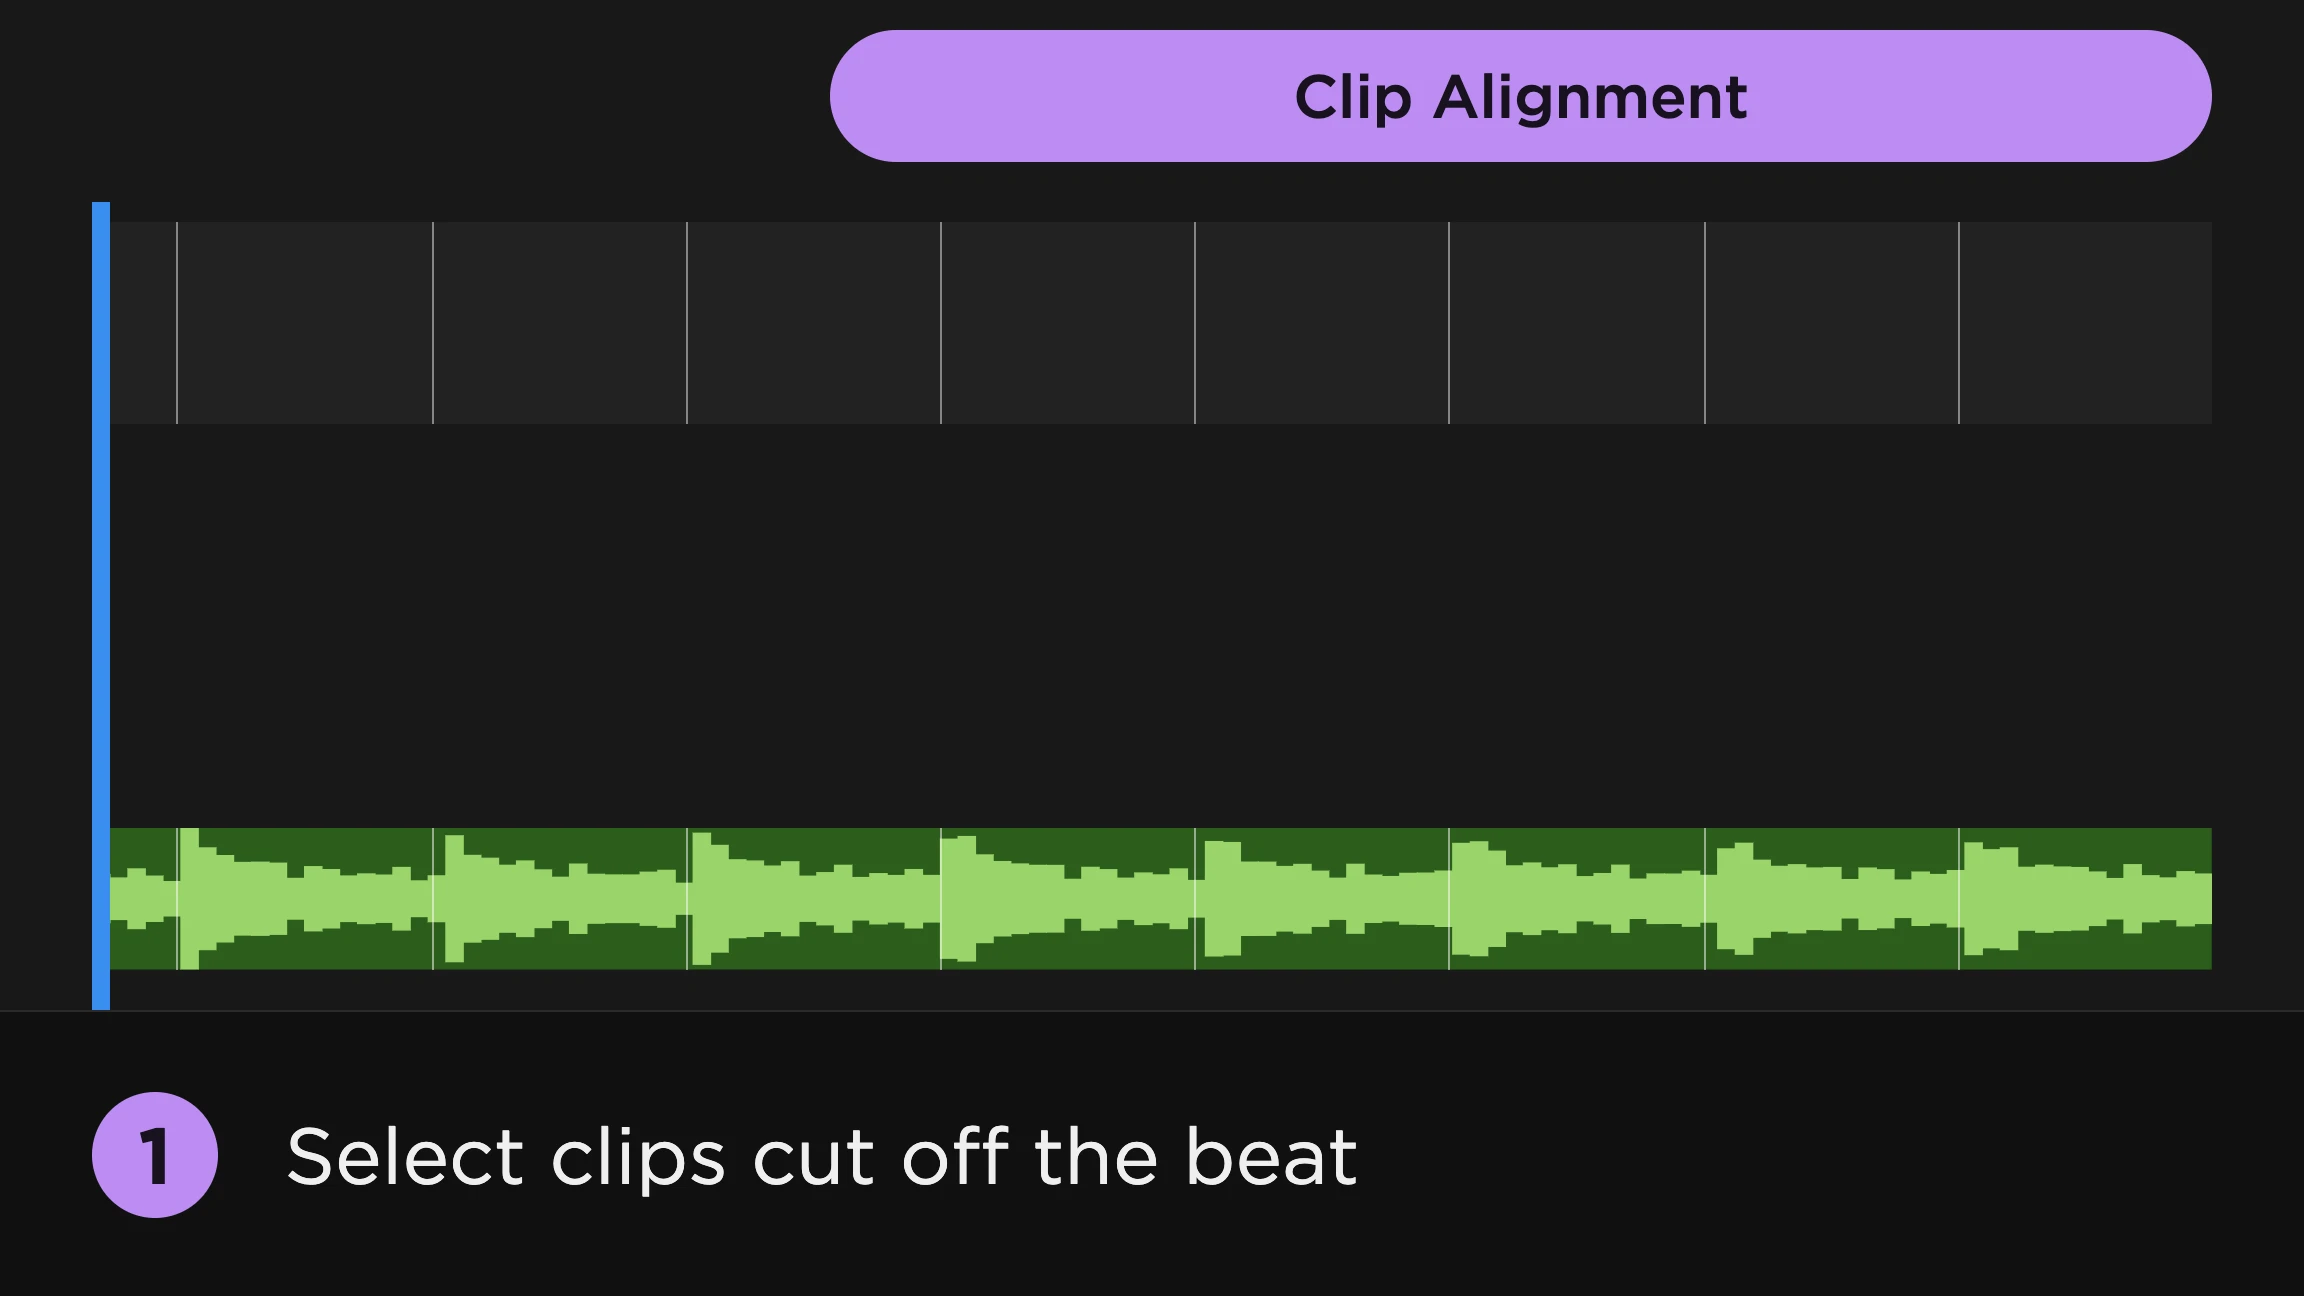
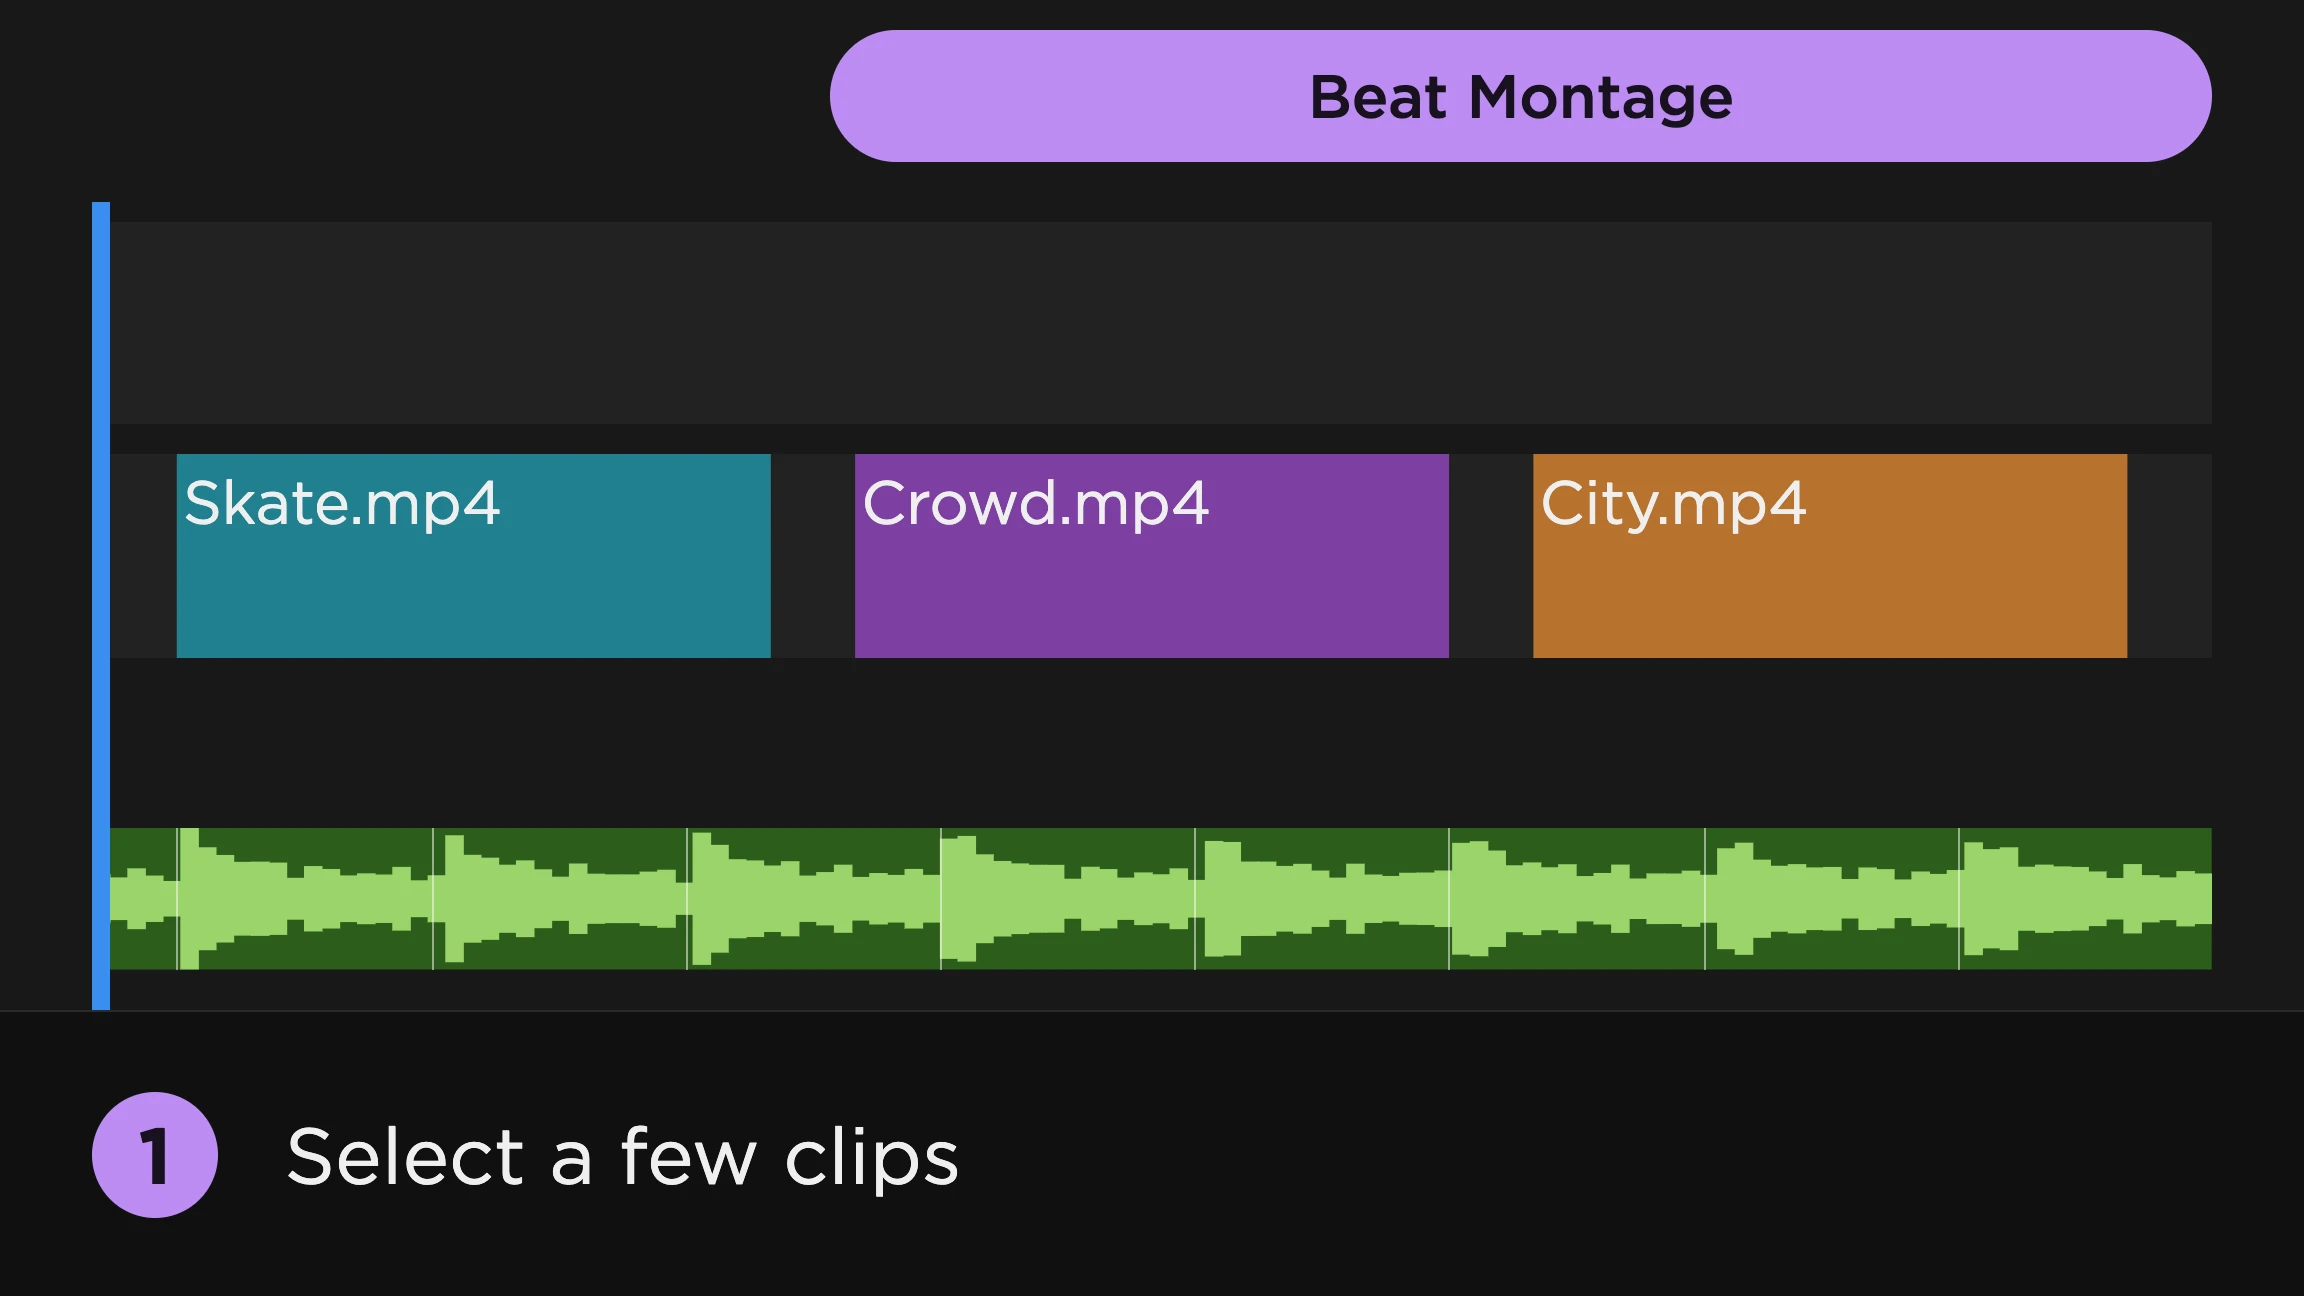
Effects work best on an edit that’s already cut to the music. Start by placing and trimming clips to the beat, then layer effects on top. For more ideas, see how to sync color changes to claps and how to build transitions that land on the beat.