Ask how to edit to music in Premiere Pro and almost every answer starts the same way: put a marker on every beat. Tap M along with the song, fix the ones that landed late, then cut, snap and keyframe against them.
That was the right advice when markers were the only way to get the beat onto the timeline, because Premiere has no beat detection of its own. Markers were never the goal, though. They were how you told Premiere where the beats are, so the real job (a cut, a flash, a placed clip) could land on one. Once a tool can do that job straight from the music, the markers in between are extra work. This guide goes through what editors use beat markers for, which of those jobs no longer need them, and where markers are still the right tool.
What beat markers are for
In a music edit, markers do a handful of jobs:
- Cut points. Trim each clip so it starts on one marker and ends on the next.
- Placing clips. Feed the markers to Clip > Automate to Sequence with At Unnumbered Markers, and Premiere lays your clips out on them.
- Snapping an existing cut. With snapping on, drag each edit onto the nearest marker.
- Keyframing on the beat. Line up a flash, a zoom or a shake with each marker in Effect Controls.
- Transitions and titles. Start a transition, a title or a text animation on a marker.
- Finding your way. Mark where the chorus starts or where the drop hits, and leave notes for whoever edits next.
The first four are the bulk of the work in a montage, and they’re the ones SoundXtract now does without any markers.
Jobs that no longer need markers
SoundXtract analyzes the song inside Premiere Pro and acts on the beats directly. Select the music clip, click Start, then pick the job:
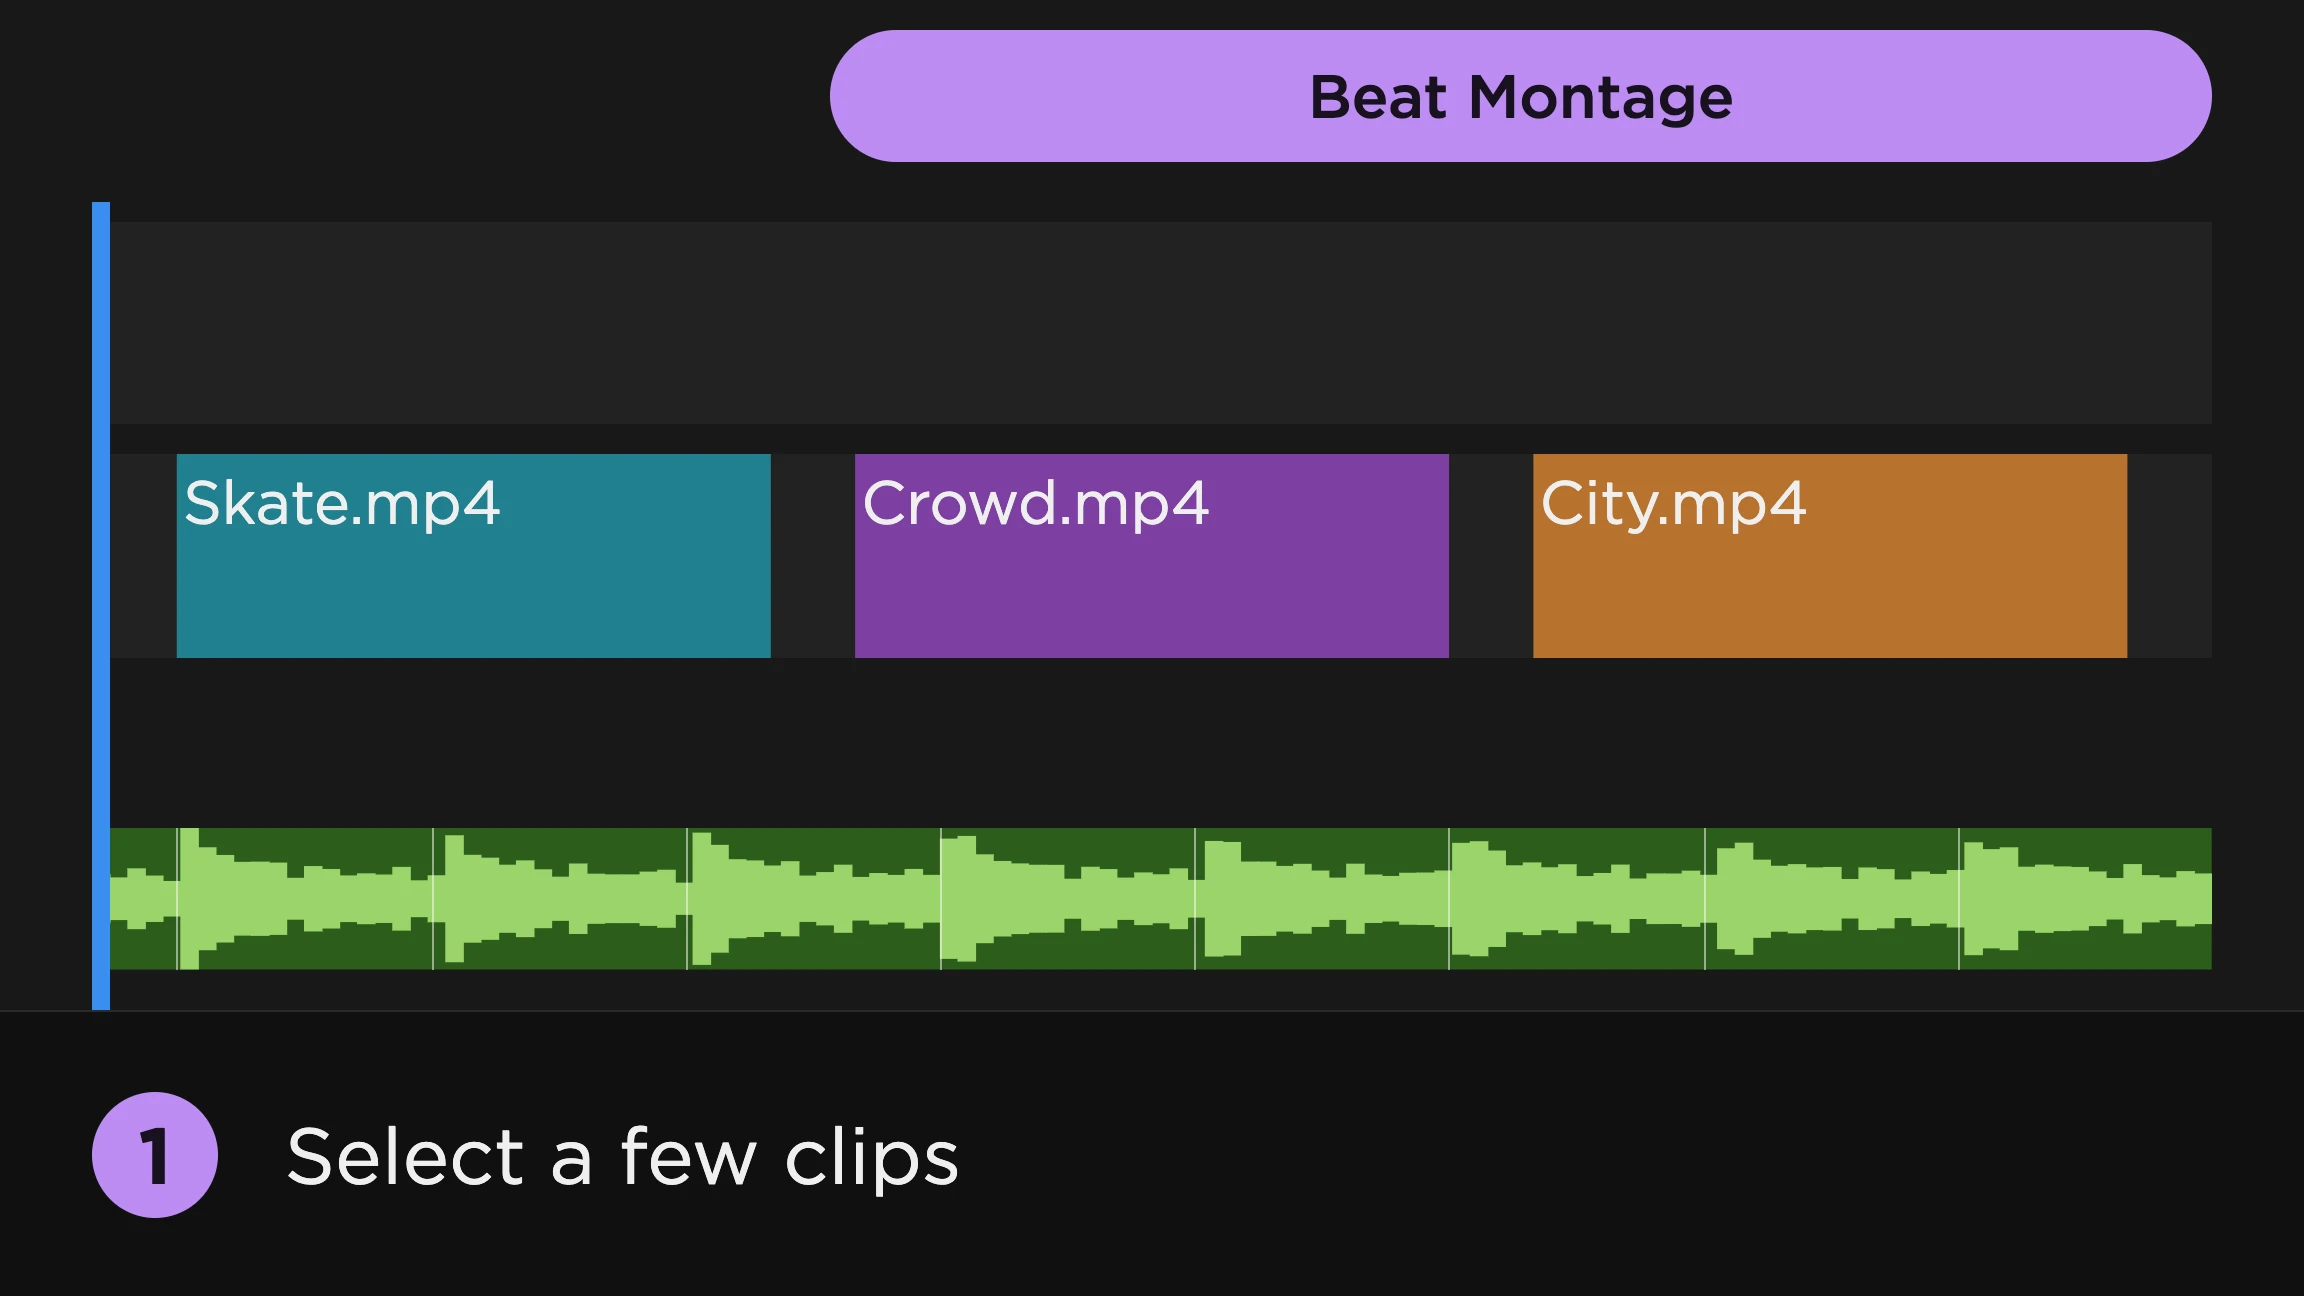
- Placing clips on the beats. Select your clips on the timeline or in the Project panel and click Beat Montage in the Cut & Align tab. Each clip is placed and trimmed to run from one beat to the next.
- Snapping an edit you already cut. Select the clips and click Clip Alignment. Each cut moves to the nearest beat, by rolling the edit, moving the clips or trimming their ends.
- Cutting on the beat. Cut Clips cuts the selected clips on each beat. Switch Between Tracks does the same for camera angles stacked on separate tracks, and keeps one angle between each pair of cuts.
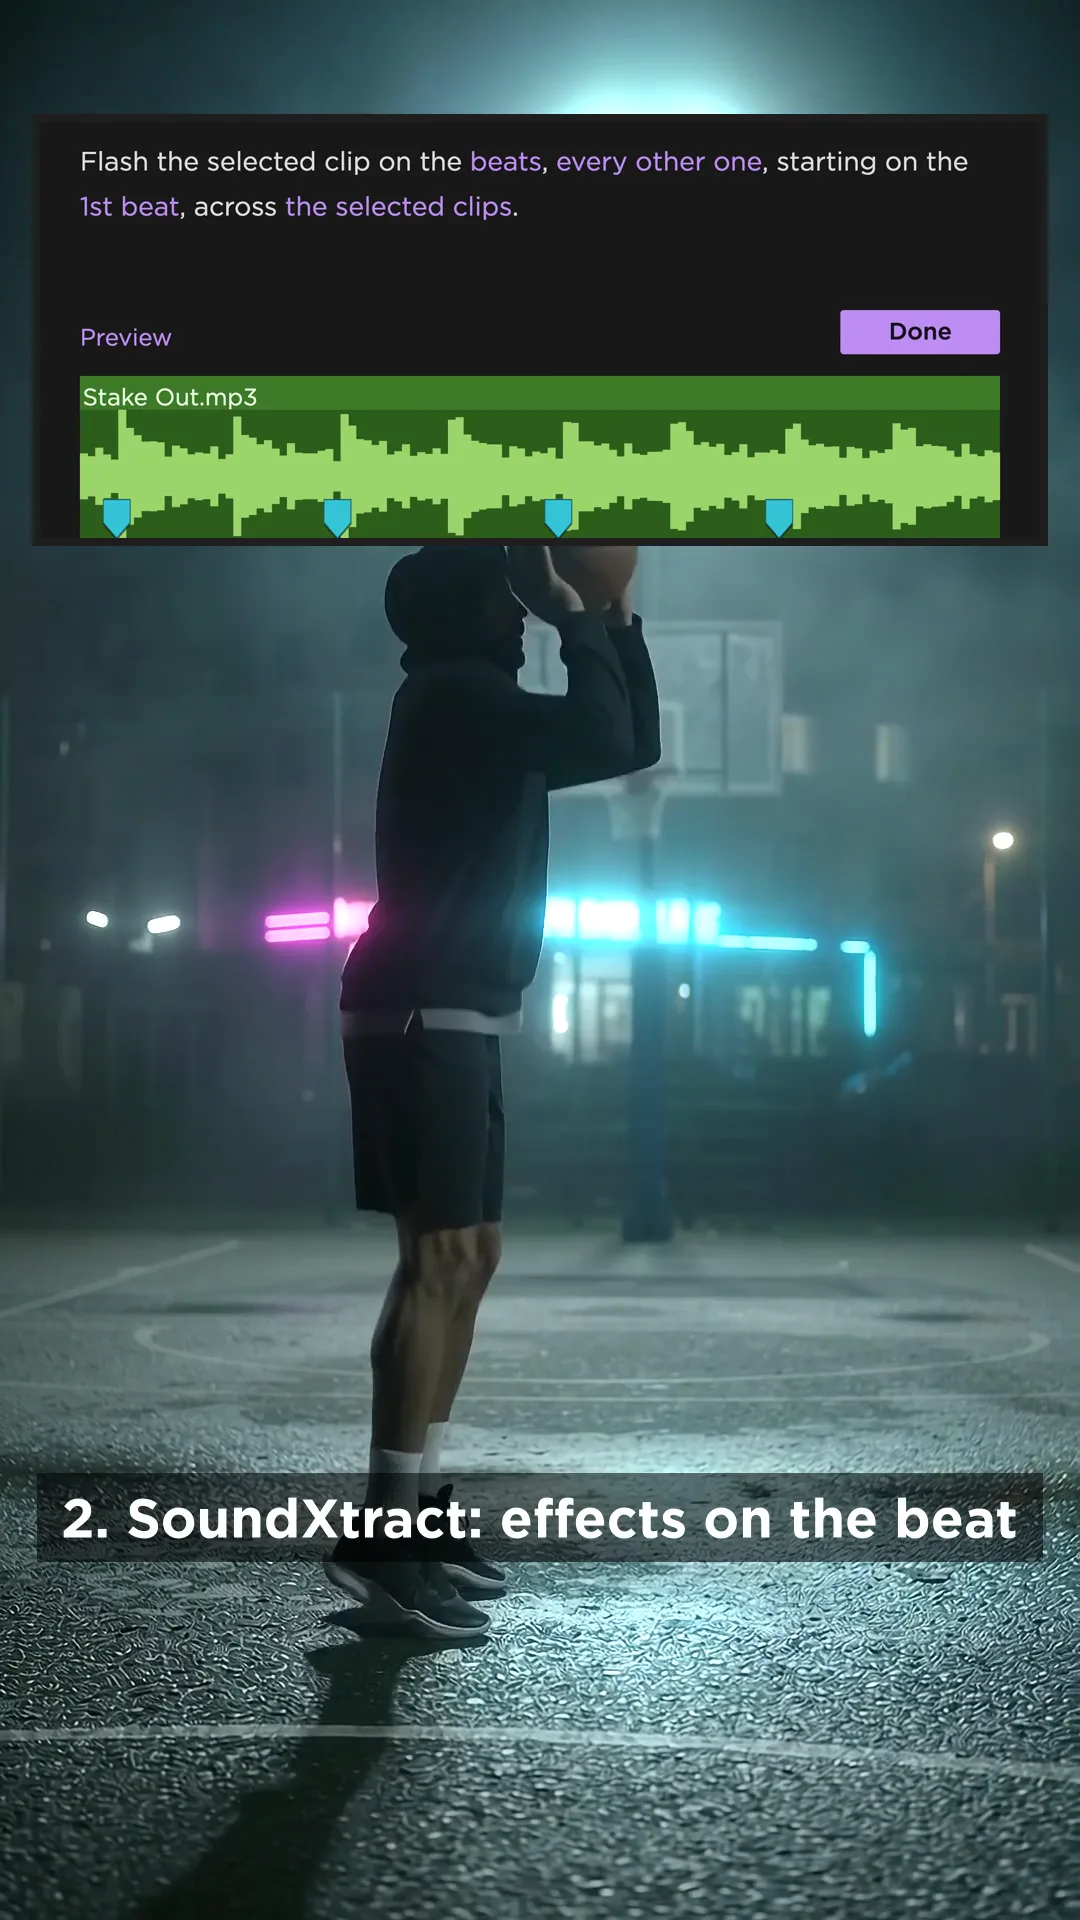
- Effects on the hits. The Effects tab writes keyframes onto native Premiere effects: Flash, Bounce, Camera Shake, Glitch, RGB Split, Strobe and more. You can still open and edit them in Effect Controls.
Every one of them follows the same choices you’d make with markers: all the beats or every other one, a pattern you pick, or the hits of one instrument (Kicks & Toms, Snares & Cymbals, Bass or Melody). The difference is that you change the choice with a click, and the edit follows. With markers, a new pattern means marking the song again.
The same goes for a new song. If the client asks for different music, analyze it and run the workflow again, instead of tapping out a fresh set of markers.
When markers are still the right tool
Markers are Premiere’s general way to say “something happens here”, and some jobs still need exactly that:
- Transitions. Flash and Bounce cover the classic flash and zoom on the beat. A cross dissolve, a whip pan or a transition from a third-party pack still has to be placed by hand, and markers are what you snap it to.
- Effects and titles SoundXtract doesn’t write. A third-party plugin, a Motion Graphics template, lyrics or text that should land on the beat: anything outside the Effects tab gets keyframed against markers.
- Song structure. SoundXtract marks beats and instrument hits, not where the verse ends or the chorus starts. Mark those yourself and use them to pace each section.
- Choosing every cut yourself. Some edits are cut by feel, a shot at a time. Beat markers on the music clip give you something to snap to while you decide what goes where.
- Notes and handoffs. A marker with a comment is still the clearest way to tell another editor, or yourself next week, what to fix and where.
For the beat-based ones, you don’t have to go back to tapping M. The Markers tab writes ordinary Premiere markers from the same analysis, on the music clip, the selected video clips or the sequence, following the beats or one instrument.
Markers or automation?
| The job | With beat markers | Without them |
|---|---|---|
| Placing clips on the beats | Automate to Sequence, then fix trims | Beat Montage |
| Snapping a cut you already made | Drag each edit onto a marker | Clip Alignment |
| Switching camera angles | Cut each angle by hand | Switch Between Tracks |
| Flash, zoom, shake on the hits | Keyframe each marker | The Effects tab |
| Third-party transitions, titles | Snap them to markers | Still markers |
| Song sections, notes | Mark them by hand | Still markers |
| A different song | Mark it all again | Run the workflow again |
If the job is cutting, placing or hitting the beat with an effect, skip the markers and go straight to the result. If it’s something SoundXtract doesn’t do, or a decision you want to make one cut at a time, markers are still the best way to see the beat on the timeline.
Where to go next
For the jobs that don’t need markers, see how to cut to the beat and how to add audio-reactive effects. For the ones that do, add beat markers automatically and keep only the beats your edit needs.