A montage feels right when the picture changes with the music. Cut a beat late and the edit feels sluggish, even if nobody can say why. Getting every cut onto the beat is the slow part of cutting to music: find the beat, trim the clip, nudge it a frame, and repeat a hundred times.
Premiere Pro doesn’t help with the first step. It has no beat detection, so it can’t tell where the beats are, and every tool it does have (the razor, ripple trims, Automate to Sequence) needs you to mark them first. This guide covers doing it by hand, the built-in shortcut, and cutting automatically with SoundXtract, for four situations: clips already on the timeline, an edit that’s already cut, stacked camera angles, and footage still in the Project panel.
Which beats should get a cut?
Not all of them. A cut on every beat makes every shot the same length, and at most tempos that’s too fast to take in. A few patterns that work:
- Every other beat, or once a bar, for most montages. Save cuts on every beat for the build before a drop.
- The downbeat (the 1 of each bar) for the big changes: a new location, a new scene.
- One instrument instead of the tempo grid. Cutting on the snare, or on the kick, follows what the listener actually hears, including the hits that land off the beat.
- The structure. Change the pace when the song changes, so the chorus cuts faster than the verse.
Whatever you pick, put the cut on the frame where the beat lands or just before it. A cut that comes a frame late reads as late; one that comes a frame early doesn’t.
Cutting to the beat by hand
- Put the music on the timeline and add a sequence marker on each beat you want to cut on (press M with nothing selected while it plays).
- Zoom in on the waveform and move the markers that landed late. Tapping along always lands a little behind the beat.
- Turn on snapping (S), then trim each clip so it starts on a marker and ends on the next.
The built-in shortcut skips step 3. Select your clips in the Project panel, choose Clip > Automate to Sequence, and set Placement to At Unnumbered Markers. Premiere puts the clips at the sequence markers in the order you selected them. It only reads sequence markers, not clip markers, so the markers have to be on the timeline itself (PremiumBeat walks through the settings).
Either way, the markers are the hard part, and they’re tied to one song. If the client asks for different music, you mark it all again.
Placing clips on the beats automatically
SoundXtract analyzes the song inside Premiere Pro and places your clips itself, as ordinary clips on the timeline.
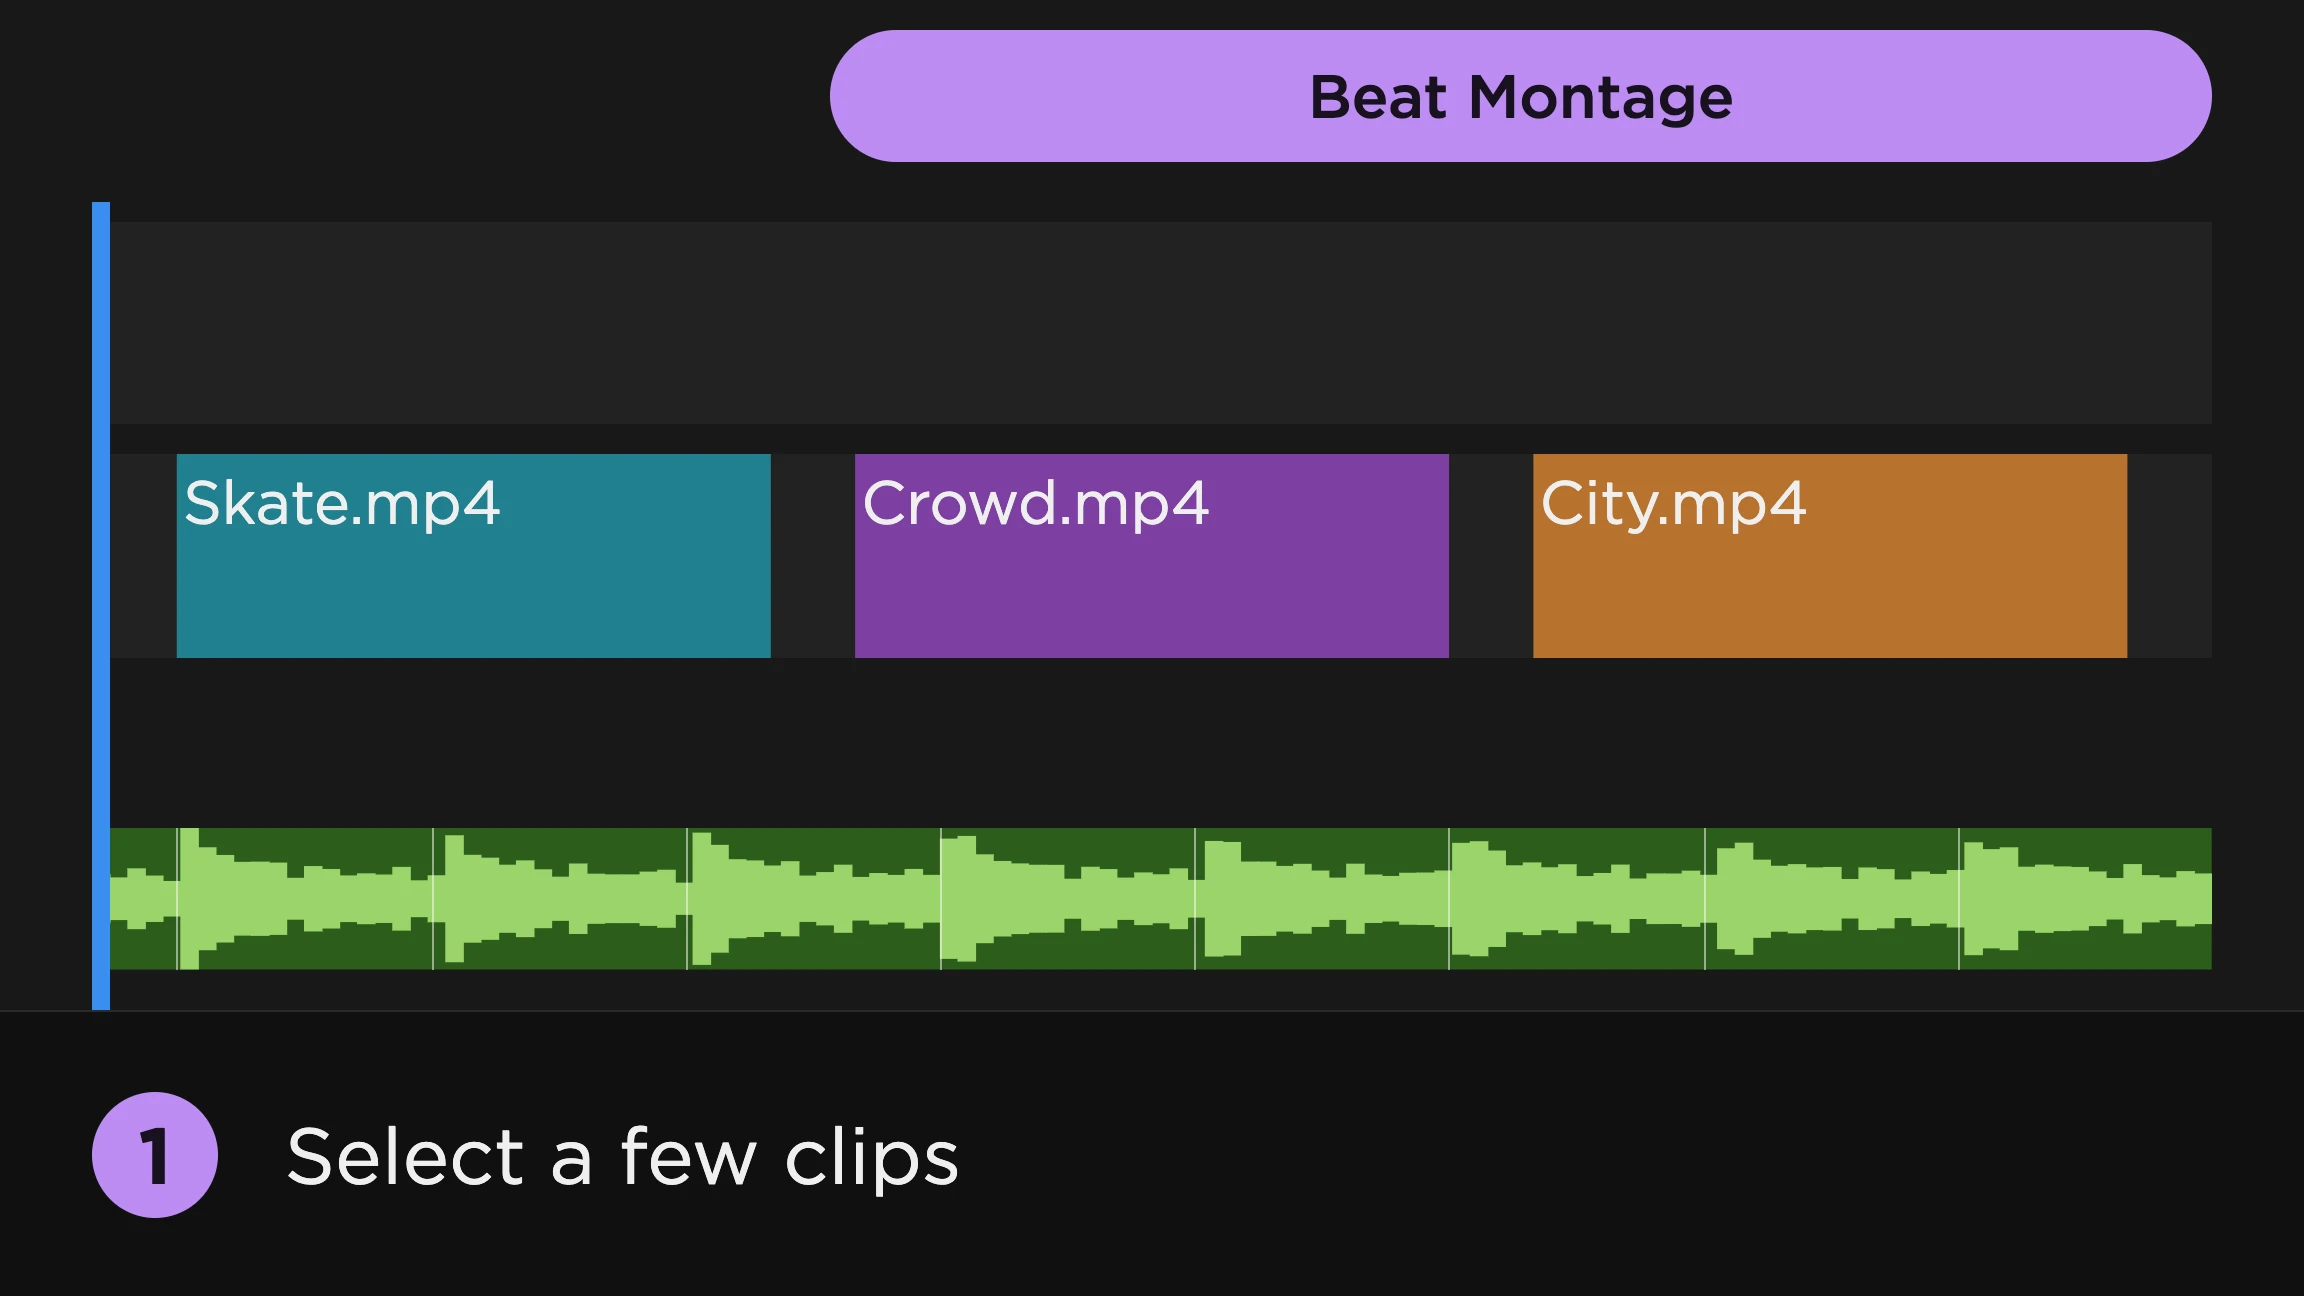
- Select the music clip and click Start to analyze it.
- Select the video clips you want to use. Set in and out points on the sequence if you only want to fill part of the song.
- Pick Cut & Align in the track overview (or open the Cut & Align tab), then click Beat Montage.
The clips are placed right away, on the first empty track above them, and the settings open as one sentence: “Place the 3 selected clips from the timeline, one after another, on the beats, all of them, on track V2, across the full song.” Click any colored word to change it, and the clips are placed again:
- “the 3 selected clips” lists the clips in the order they take turns. Drag to reorder them, or click Shuffle.
- “one after another” switches to in random order: every clip plays once before any of them repeats, and never the same one twice in a row. The order stays put while you change the other words.
- “the beats” switches to one instrument: kick and tom hits, snare and cymbal hits, bass notes or melody notes.
- “all of them” sets the pace, from every fourth beat up to every 16th note. Pick every other beat and you can also choose which beat it starts on. Pick beats… builds your own pattern, one to eight bars long, that repeats across the range.
- “on track V2” picks another track. A track that already has clips in that range is marked, and placing there replaces them.
- “across the full song” narrows the range to your in/out points or to exact times, like
1:24.
If your clips have their own audio, it comes along, on the audio track numbered like the video track (V3’s audio goes on A3). So when the default track is chosen, a video track whose audio track holds the music counts as taken, and the music stays untouched. The same goes for the marking in the track list.
Preview plays a click on every cut along with the music. Undo takes the clips back out, and Done keeps them. Each cut lands on the frame where the beat falls, or the one just before it.
A line under the sentence counts the clips as they’re placed. If you click Done before it finishes, the window closes and the placing carries on, with the count and a Stop button above the workflow cards. Stop keeps whatever is already placed.
Choosing which part of each clip plays
Each placed clip starts from the clip’s own in point, and runs until the next cut. So if a clip shows the wrong moment, change its in point on the timeline, or in the Source Monitor, and run Beat Montage again.
To use two moments from the same shot, cut it into two clips first and select both. They’ll take turns like any other clips.
Snapping an edit that’s already cut
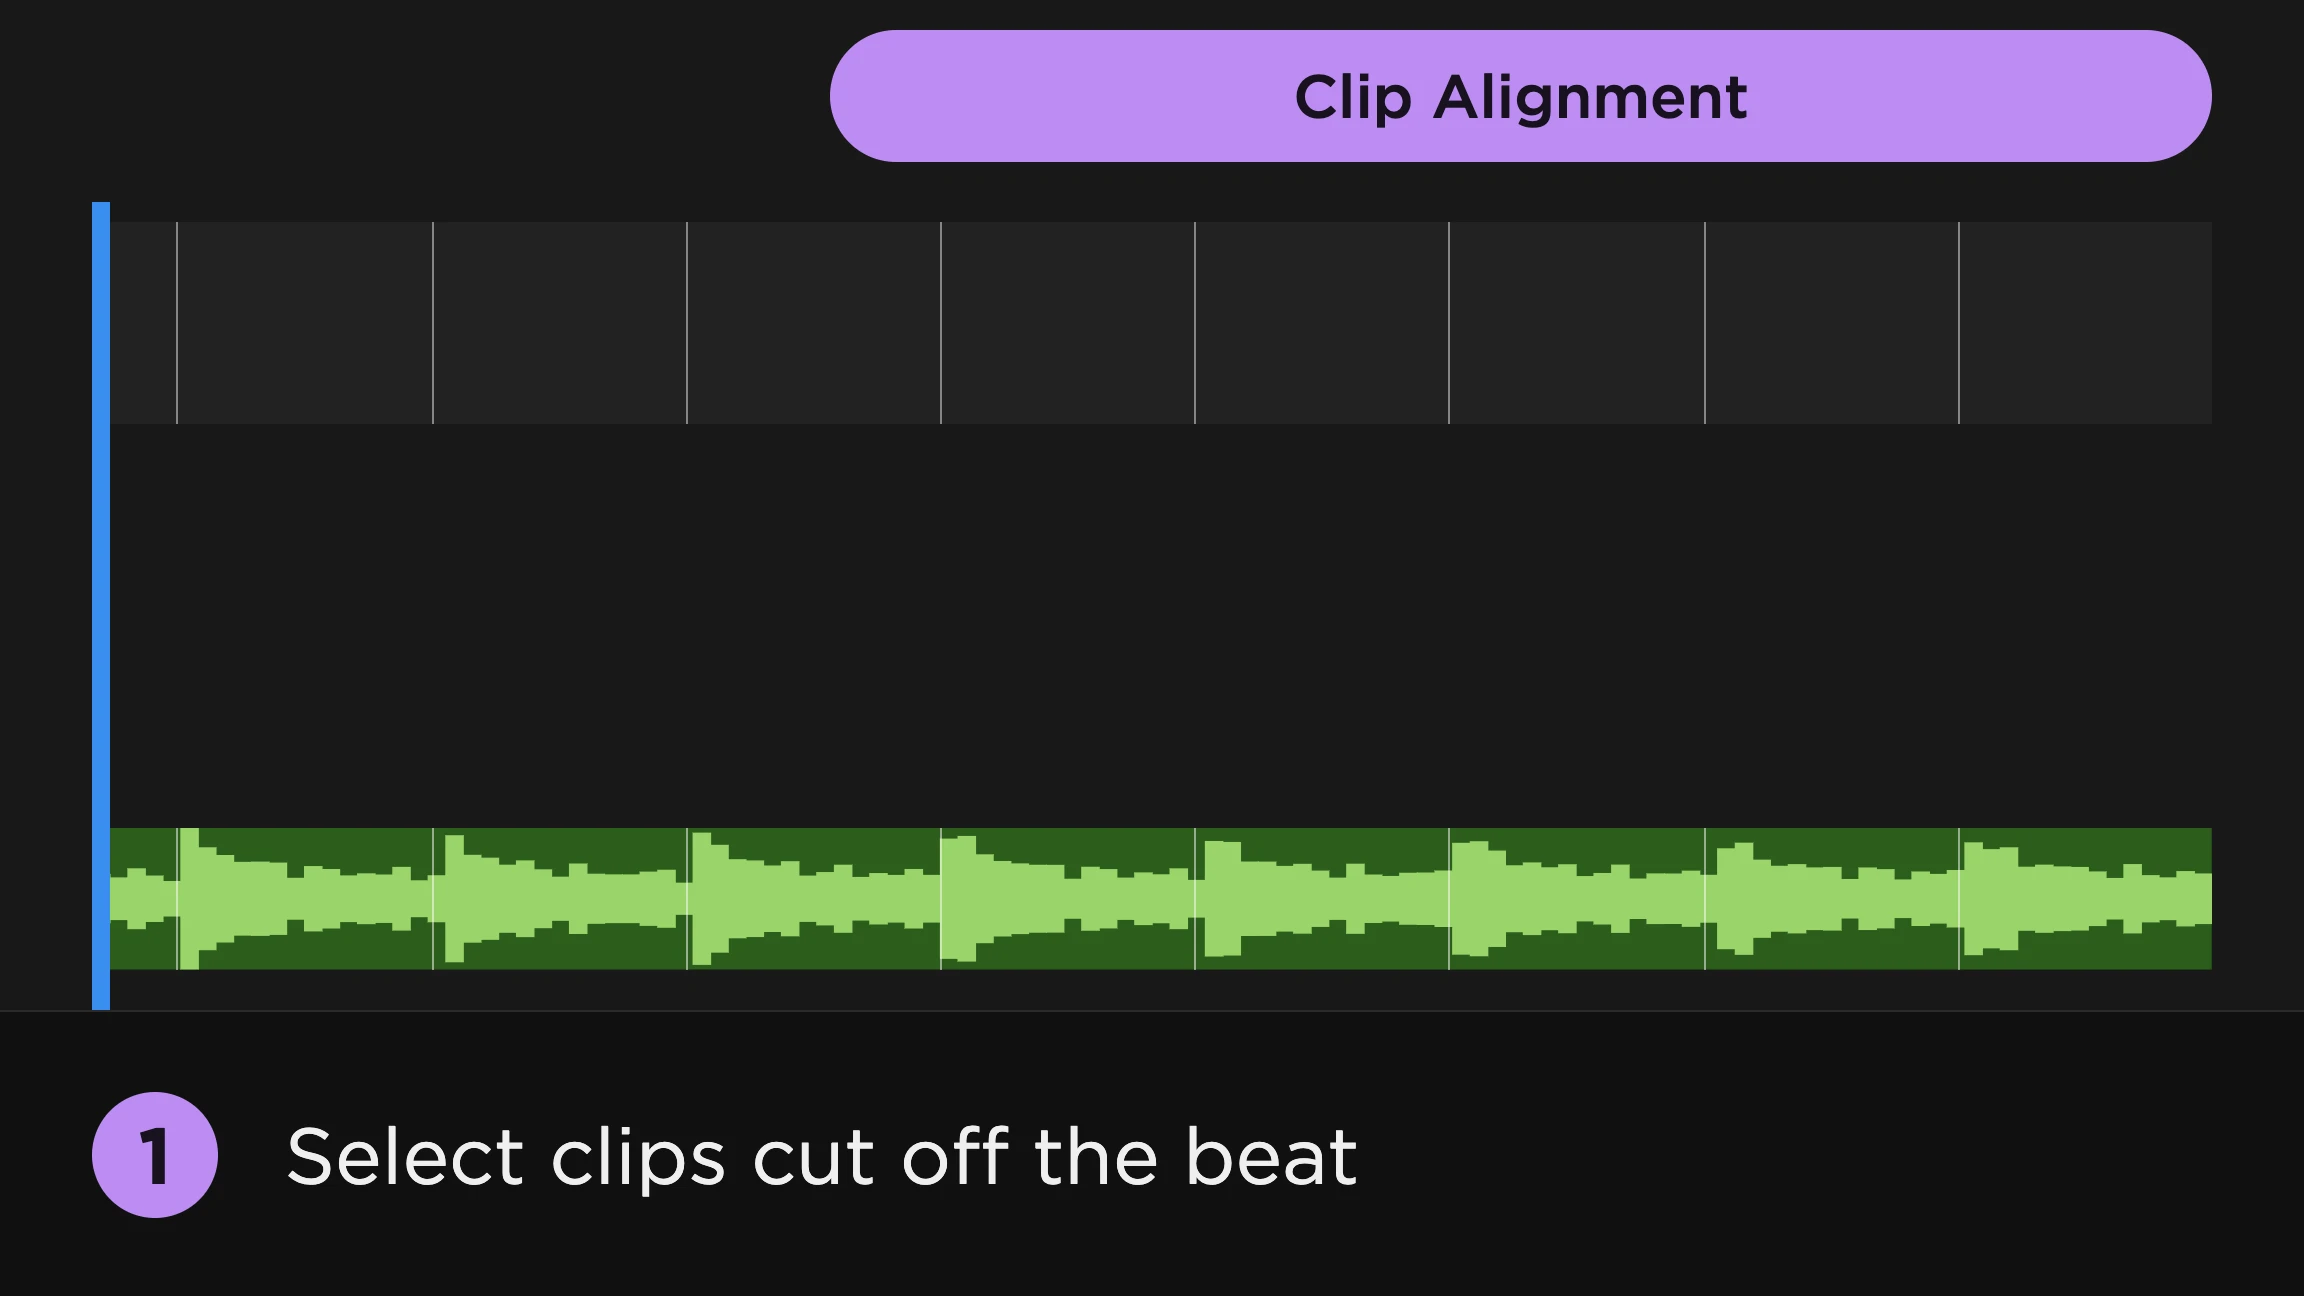
If you’ve cut the sequence yourself and the cuts sit near the beat but not on it, you don’t need to place anything. Select the clips and click Clip Alignment:
“Snap the 3 selected clips to the beats, all of them, by rolling the cuts, across the selected clips.”
Each cut between two clips moves to the nearest beat, as a roll edit: the clip before it gets longer by exactly what the clip after it loses, so the order, the total length and every other cut stay put. Linked audio moves with its video. Click “by rolling the cuts” for the other two ways:
- moving the clips slides each clip so it starts on the nearest beat, keeping its length. It can leave gaps.
- trimming the ends leaves every start where it is and trims each clip’s end to the nearest beat.
A cut can only roll as far as the clips have media for. If the clip before it ends where its source file ends, the cut can’t move later; if the clip after it starts at the first frame of its source, the cut can’t move earlier. Then the cut goes to the nearest beat in the other direction, or stays where it is, and the line under the sentence counts how many did. Undo puts every cut back.
Cutting multicam angles on the beat
For a performance shot from several cameras, you usually don’t want new clips. You want the angles you already synced to switch on the beat.
- Stack the synced angles on separate video tracks, over the music.
- Select the angles and click Switch Between Tracks.
Every selected clip is cut on each beat, and between each pair of cuts SoundXtract keeps one angle and removes the others. The settings read as one sentence: “Cut the 2 selected clips on the beats, all of them, showing one track at a time, never the same one twice in a row, across the selected clips.” The “never the same one twice in a row” part makes sure every cut actually changes the shot; pick showing one track at a time to allow repeats.
“The beats” and “all of them” work the same way as in Beat Montage, so the angles can switch on the snare, or once a bar. Undo puts the clips back the way they were.
To cut on the beat without removing anything, click Cut Clips instead. It cuts the selected clips on each beat and keeps every track.
Placing clips straight from the bin
If the footage isn’t on the timeline yet, skip that step too. Select the clips in the Project panel and click Beat Montage.
The sentence starts with “Place the 3 selected items from the Project panel, one after another, on the beats”. Each beat gets the next item, trimmed to end on the following beat, on the first empty track. Click the words to reorder the items, shuffle them, change the pace, pick another track or narrow the range. If clips on the timeline are selected too, Beat Montage asks which to take before it places anything, and “from the Project panel” switches between the two afterwards.
The items go in as video only, so their own audio never lands on the music. SoundXtract does that through a video-only subclip of each item, which it keeps in a SoundXtract › Video Only bin, because the placed clips play from it.
Which way to cut?
| By hand | Automate to Sequence | SoundXtract | |
|---|---|---|---|
| Finding the beats | You tap them, then fix them | You tap them, then fix them | Detected |
| Trimming clips to the beats | One at a time | Placed at markers | Placed and trimmed |
| Cutting on one instrument | A marker pass per instrument | A marker pass per instrument | Pick it from a list |
| Switching multicam angles | By hand | No | Switch Between Tracks |
| When the song changes | Start over | Mark the new song | Run it again |
| Cost | Free | Free | First 3 music clips free |
For a dozen cuts on a song with an obvious beat, markers and snapping are fine, and Automate to Sequence saves some dragging. Past that, or when the edit should follow one instrument, letting the music place the clips is where the time goes back.
What to do next
With the cuts on the beat, the next step is usually to make them hit harder. Audio-reactive effects add a flash, a zoom or a shake on the same beats, which turns a hard cut into a transition. If you want the beats on the timeline as markers too, to cut some sections by hand, see how to add beat markers automatically.