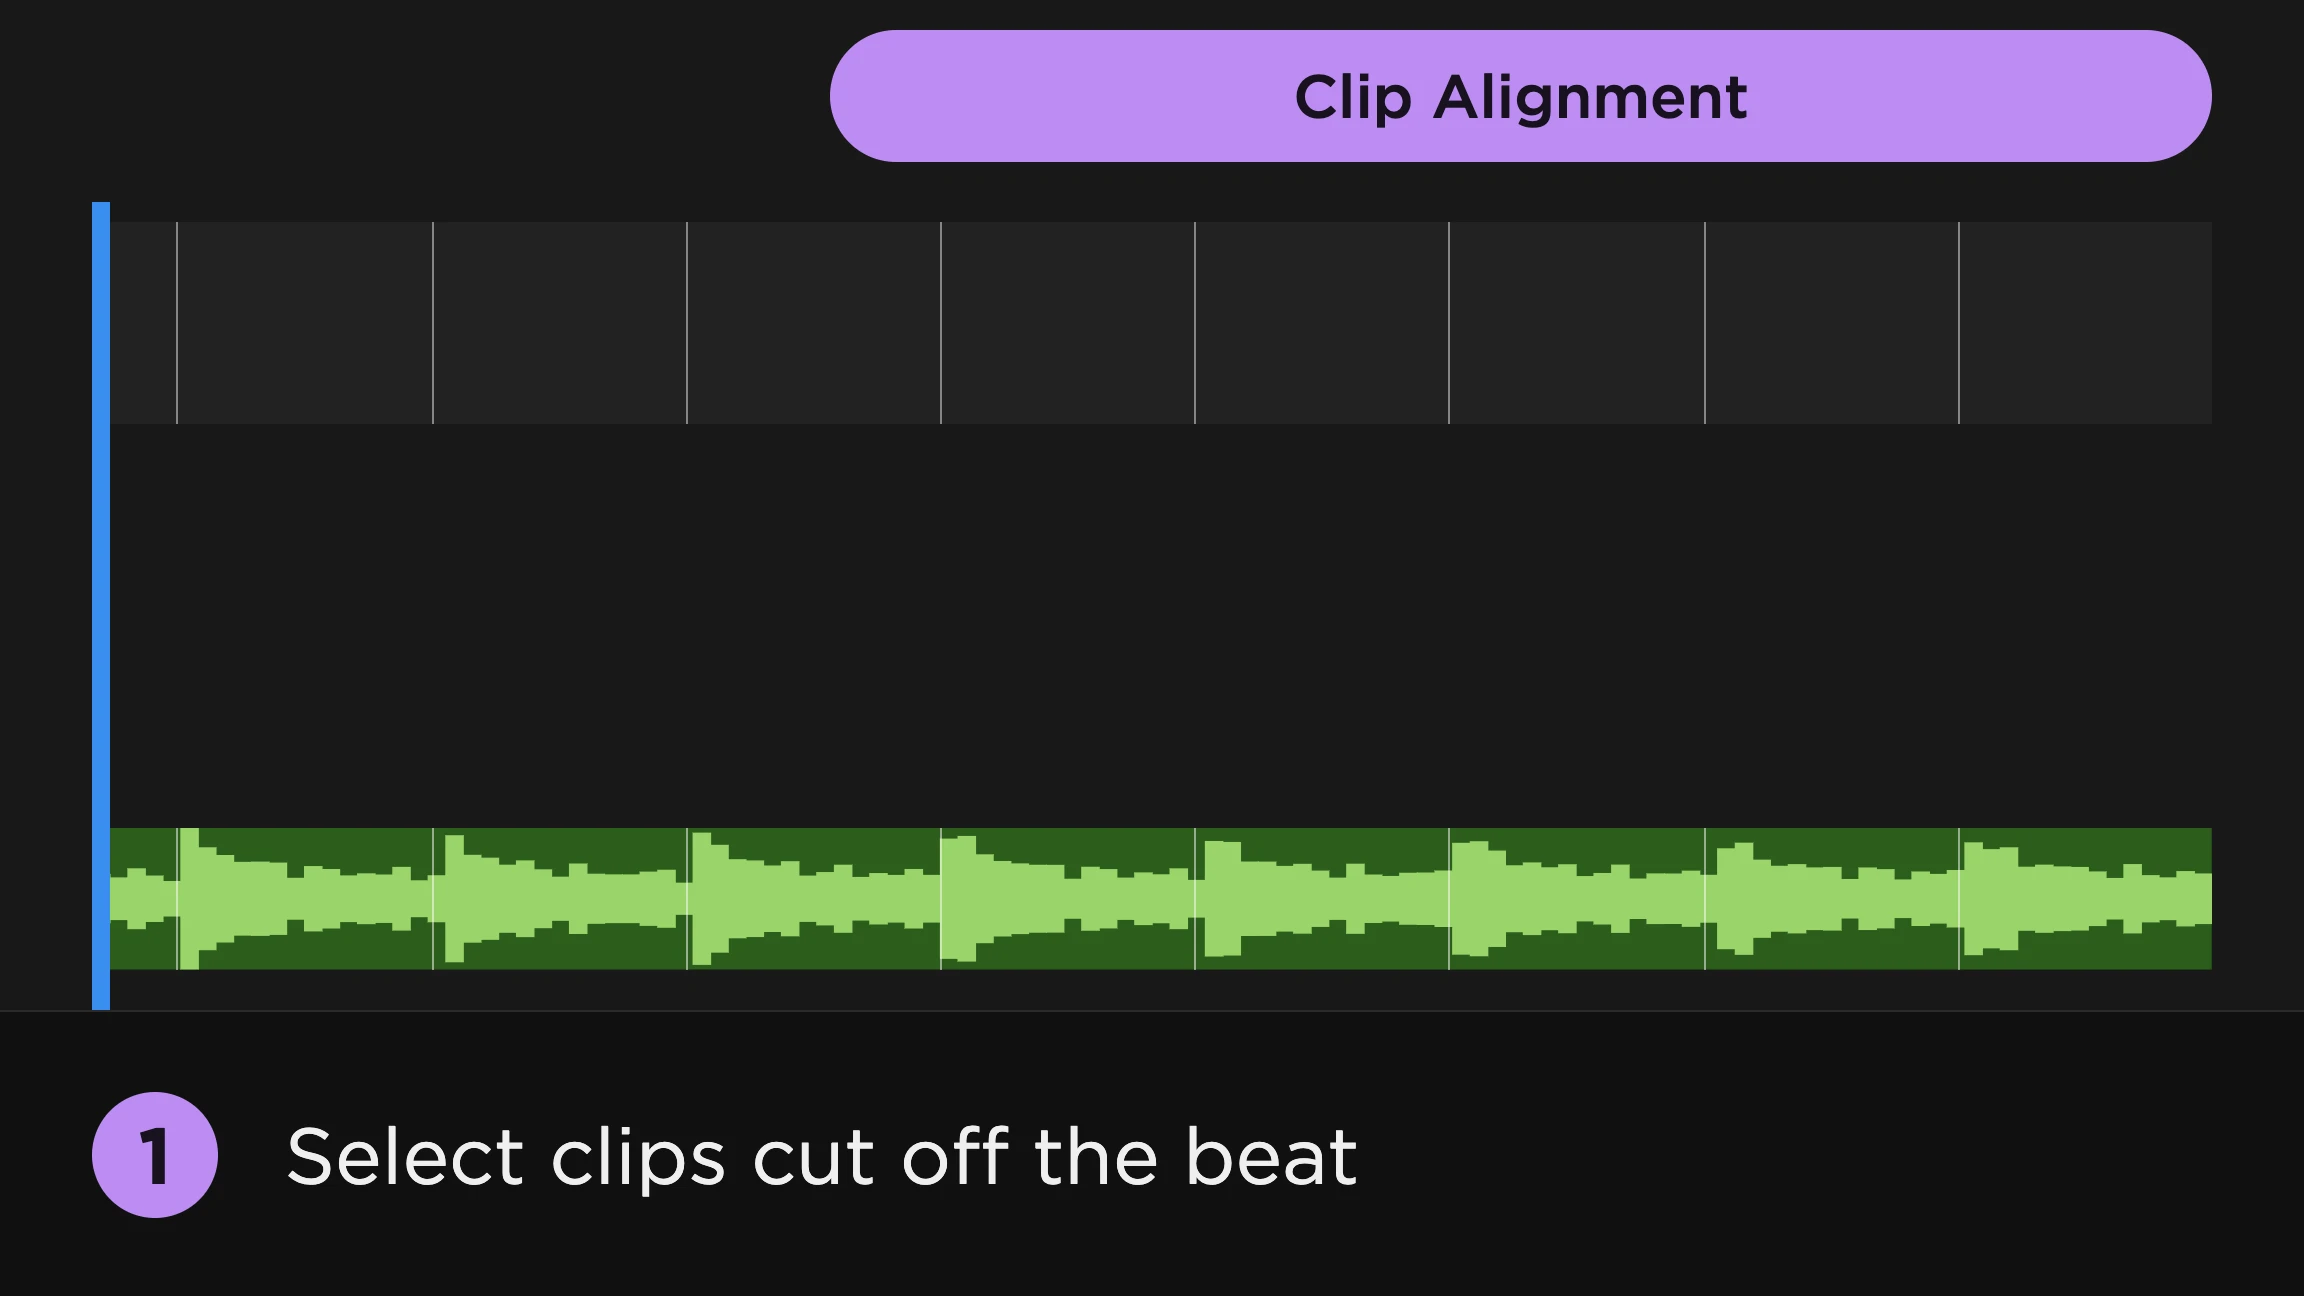
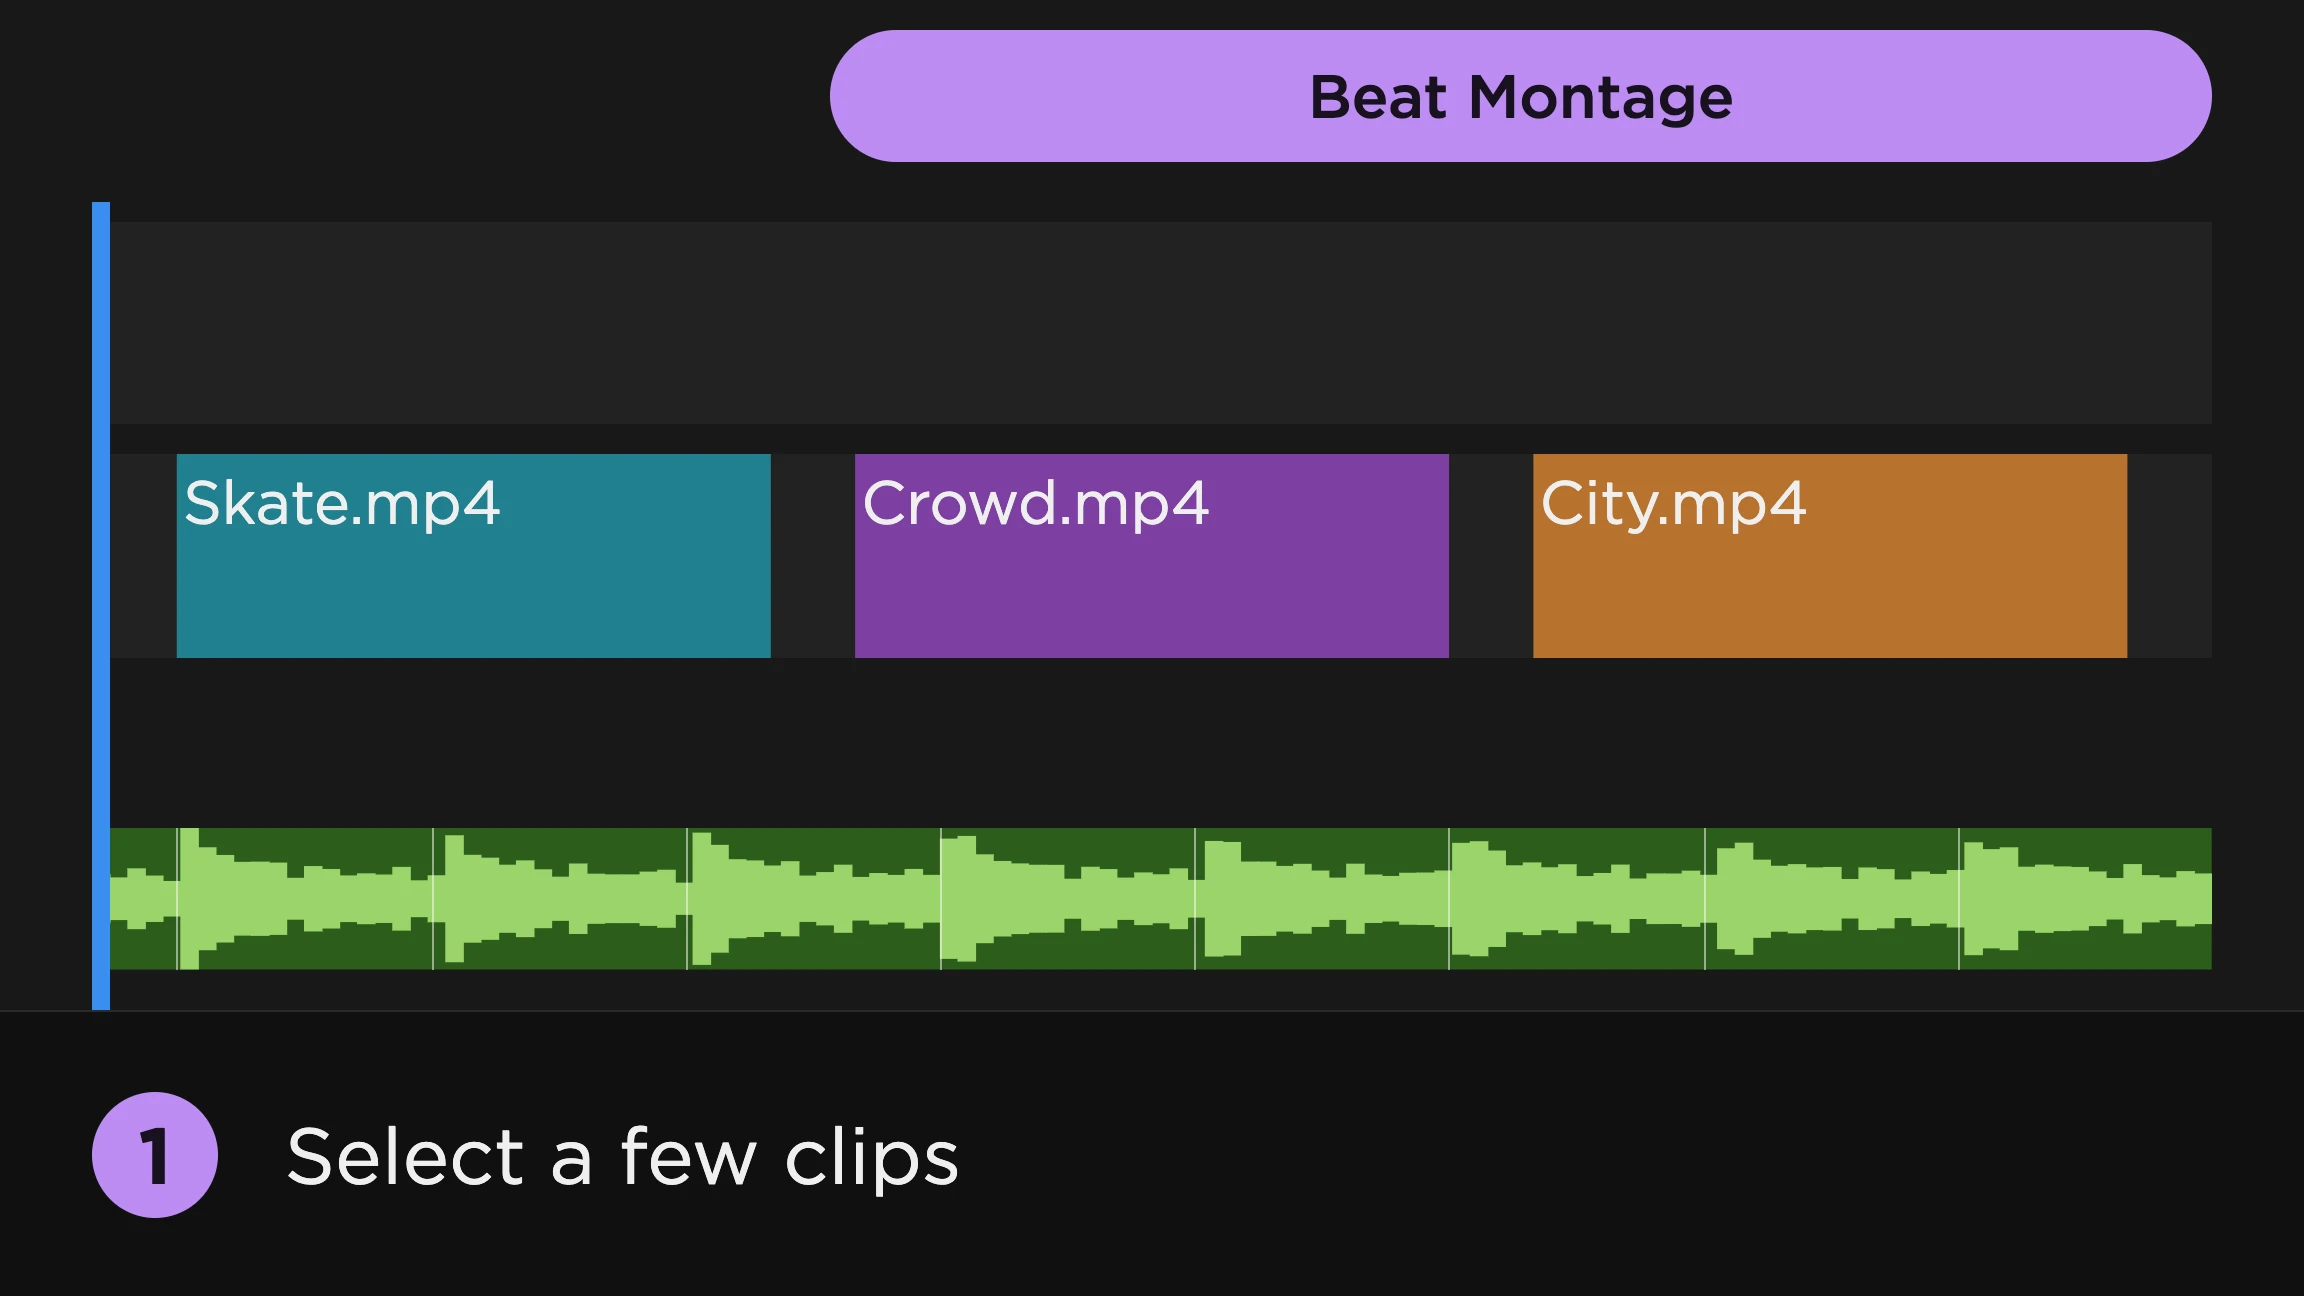
An effect that hits the whole frame on every kick is loud, and the first thing it drowns out is the person you’re filming. A flash that blows out the background while your subject stays sharp reads very differently: the world reacts to the music, and your subject holds still in the middle of it.
Until recently that meant rotoscoping in After Effects. Premiere 26 added Object Mask, which selects a person or object with one click and tracks it through the shot (Adobe). Premiere still can’t put an effect on the beat by itself, so this guide pairs the two: Object Mask separates the subject, and SoundXtract places the effects on the hits.
Why the background, not the subject
You can mask either side, but the background is usually the better one to hit:
- Your subject stays readable. The common selective look keeps the subject untouched and changes everything around it, like a black and white street behind a subject in full color.
- The mask edge shows less. An effect that pulses only the subject outlines the mask on every hit, so every frame where tracking slips gets flashed at the viewer.
- Motion effects can’t stay inside a mask. Shake or bounce a masked subject and the moved copy slides off the original, which stays visible underneath, so you see two subjects.
Cut the subject out with Object Mask
The trick is two copies of the same clip: an untouched copy with only the subject showing, on top of a copy that gets every effect. It’s the same stack Adobe uses for text behind a subject.
- Put your clip on V1, then hold Option (Mac) or Alt (Windows) and drag it up to V2 to duplicate it.
- Select the V2 clip and pick Object Mask from the masking tools in the Toolbar.
- Hover over your subject in the Program Monitor until it’s highlighted, then click to create the mask.
- Click the Track forward and backward button so the mask follows the subject through the clip.
- In Effect Controls, drag the mask from Unassigned Masks into Opacity.
Now V2 shows only the subject, and everything else you see comes from V1. Hide V1 for a moment (the eye icon on the track) to check the cut-out.
Add the beat effects to the background
Everything on V1 shows only where the subject isn’t, so V1 is where the effects go.
- Select the music clip in the timeline and click Start in SoundXtract.
- Select the V1 clip, not the copy above it. It has to overlap the music clip in the sequence.
- Open the Effects tab and click an effect, for example Exposure Flash. The keyframes go onto the V1 clip right away.
- Click “the beats” in the effect’s sentence to make it follow one instrument, such as kick and tom hits.
- Play it back. The background flashes on every kick while the subject on V2 stays exactly as it was. Click Done to keep it.
Add a second effect the same way to give the snare its own accent, such as Hue Shift or RGB Split on snare and cymbal hits. Because the mask lives on V2, you can add, change or undo effects on V1 as often as you like without touching it.
Which effects work behind a subject
Effects that change color or brightness work at any strength, because they don’t move any pixels:
- Exposure Flash, Flash and Invert Flash for hits that light up the room.
- Hue Shift and Color Cycle for color that changes on the beat.
- Black & White to drain the color out of the background on each hit.
- Strobe and Glitch for harder, more aggressive sections.
Effects that move the picture, like Camera Shake, Bounce, Zoom Blur and Lens Bulge, move the subject on V1 as well. The clean copy on V2 covers most of it, but at high strength a sliver of the moved subject shows at the edges. Keep their strength low in Fine-tune, or save them for a cut where the subject is small in frame.
Fixing the mask
Object Mask does well on a single, clear subject, and less well when parts of the subject leave its outline, like a ball leaving a player’s hands.
- Find a frame where the mask slips, click an area to add it, or hold Option (Mac) or Alt (Windows) and click to remove one.
- Track again after a fix, so the change carries through the rest of the clip.
- Tracking takes longer on long clips and busy subjects. Cut the clip down to the part you use before you track it.
Before you deliver, export once from Premiere and once through Media Encoder and check the mask in both. Users have reported object masks being ignored when exporting through Media Encoder.
Masking the effect directly instead
You can also skip the second copy: put the mask straight on an effect and check Inverted, so the effect applies outside the subject. It saves a track, but a mask belongs to one effect only (Larry Jordan), so two effects on the background need two masks, each tracked on its own. The two-copy stack tracks once, however many effects you add.
| Two copies (this guide) | Mask on the effect | After Effects roto | |
|---|---|---|---|
| Stays in Premiere | Yes | Yes | No, a Dynamic Link round trip |
| Masks to track | One per clip | One per effect | One per clip |
| Fine control of the edge | Add and remove areas | Add and remove areas | Full roto and refine tools |
| Effects on the beat | SoundXtract on V1 | SoundXtract, then mask | Audio to keyframes and expressions |
For one hero shot with a hard edge, like hair against a busy background, After Effects’ Roto Brush gives you more control. For a whole edit where the background hits the beat, two copies in Premiere is faster to build and easier to change.
Where to go next
New to beat effects? Start with audio-reactive effects in Premiere Pro, which covers every effect and how to make it follow one instrument. The effects tutorial walks through the panel on video, and the effects land better on an edit that’s already cut to the beat.